School field trip guide
For teachers and group leaders: picking a date, supervising a class on wet rock, and a checklist to print.
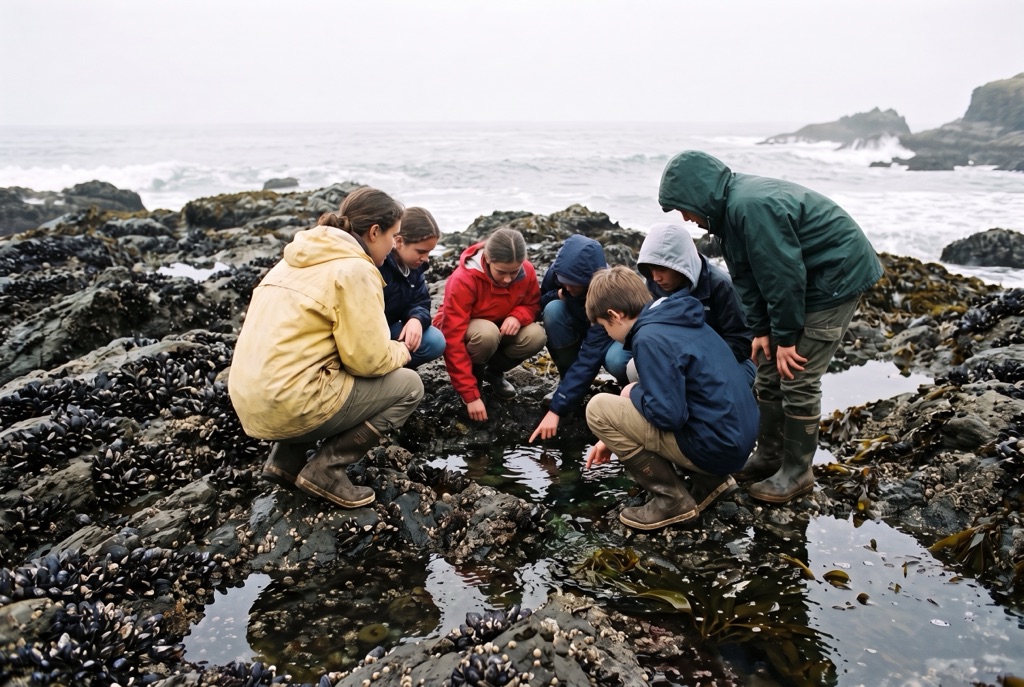
Pick the date from the tide
Choose the tide first and the day second. A big low during school hours is rarer than you would expect.
Look for the lowest low you can find near midday. On American tables that is a minus tide. On British, Canadian, Australian and New Zealand tables it is a small positive number, because they measure from a different zero. How to read a tide chart.
The biggest lows come a day or two after the new and full moon. The season depends on the coast: winter afternoons in California, summer mornings in the Pacific Northwest, the spring and autumn equinoxes in Britain.
Arrive before the low
Reach the parking area an hour before the predicted low. Getting a class from the bus down to the tide pools can take half an hour, and you want to be on the rock while the water is still going out.
Check the tide chart on the tide pool page for your shore the week before, and again the day before. Strong onshore wind can hold the water higher than predicted.
Find your shore in the directory →
Supervision
Treat your school’s adult-to-student ratio as the minimum. The main hazard is the sea, and it is behind anyone looking into a tide pool.
Use small groups with one adult per group, plus an additional adult whose only job is to watch the water. Agree on a whistle signal and a meeting point above the high-tide line.
If you can, walk the shore yourself at low tide beforehand.
What to wear and bring
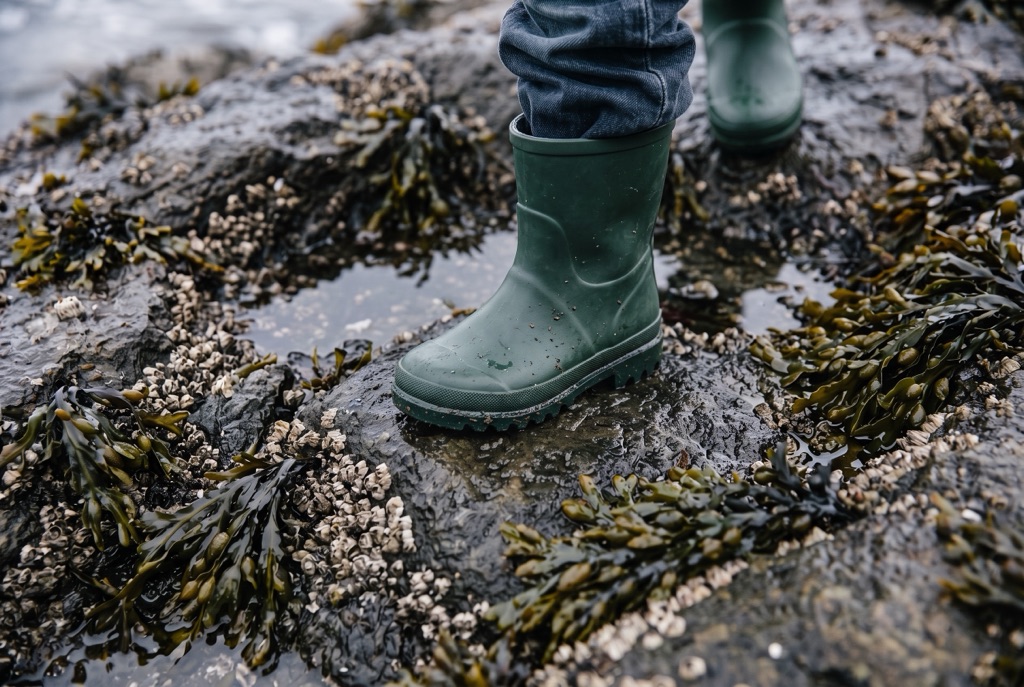
Rubber boots, or closed shoes with grip that can get wet: old sneakers or trainers. No sandals or bare feet. Most shore injuries are a slip onto barnacles.
Layers and a waterproof jacket, even on a fine day, plus dry clothes left on the bus. Leave buckets, nets and jars at school.
Adults carry a first aid kit, a charged phone, and the low and turnaround times written down. There is often no signal under a cliff.
The rules for the class
Give each rule with its reason before anyone steps onto the rock.
Look, don’t take. Nothing goes in a pocket, not even an empty shell: a hermit crab may need it.
Put rocks back the same way up. The animals underneath die if a rock is left upside down.
Wet hands, gentle fingers. Never pull anything off the rock.
Step on bare rock. Mussels, barnacles and seaweed are alive.
Safety
Never turn your back on the sea. Now and then one wave runs far higher up the rock than the rest. Keep students back from the outer edge.
Rock with algae on it is as slippery as ice. Walk, never run.
Set a turnaround time no later than the low, and keep it. The water comes back faster than it left.
A big swell on a low tide means staying high on the shore, or another day.
Permits
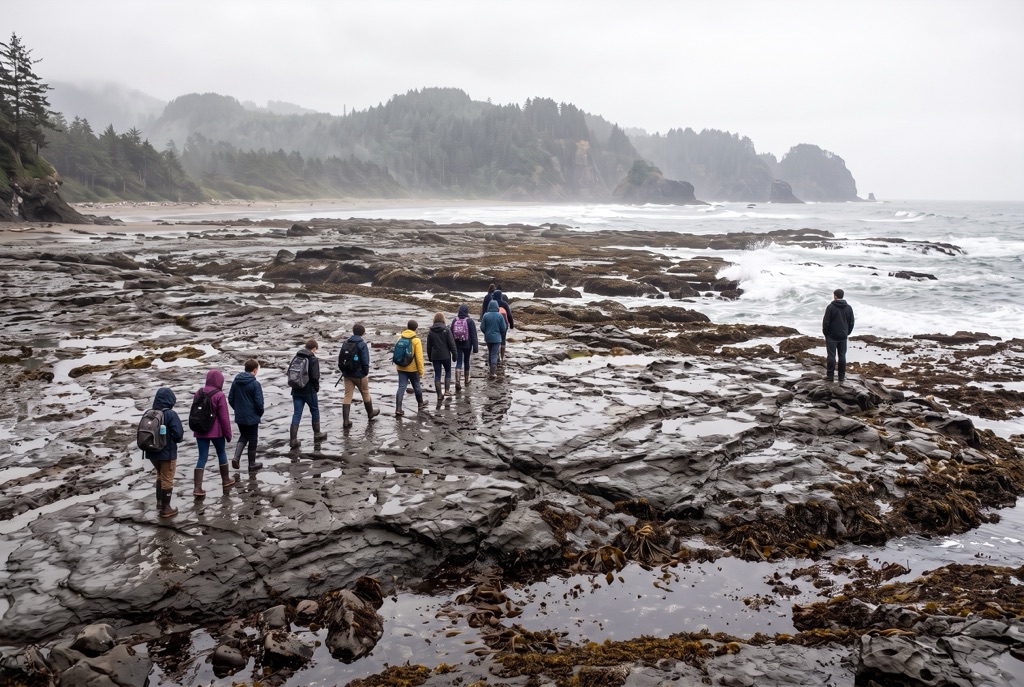
Many shores are in parks or marine protected areas that ask schools to book ahead. That can mean a permit, a group size limit or a ranger-led visit.
Ask whoever manages the shore before you fix a date.
School field trip guide · getintertidal.com
A checklist to print
Everything above, in order.
- A big daytime low, chosen from an official tide table
- Permit or booking confirmed, if the site needs one
- Small groups, plus one adult to watch the water
- Permission forms and medical information collected
- Students told what to wear, with spare clothes
- Tide and swell checked the week before and the day before
- First aid kit, phone, and low and turnaround times written down
- At the parking area an hour before the low
- Rules given before anyone steps onto the rock
- A headcount on arrival, at the turnaround and before leaving